
Last updated November 15, 2026
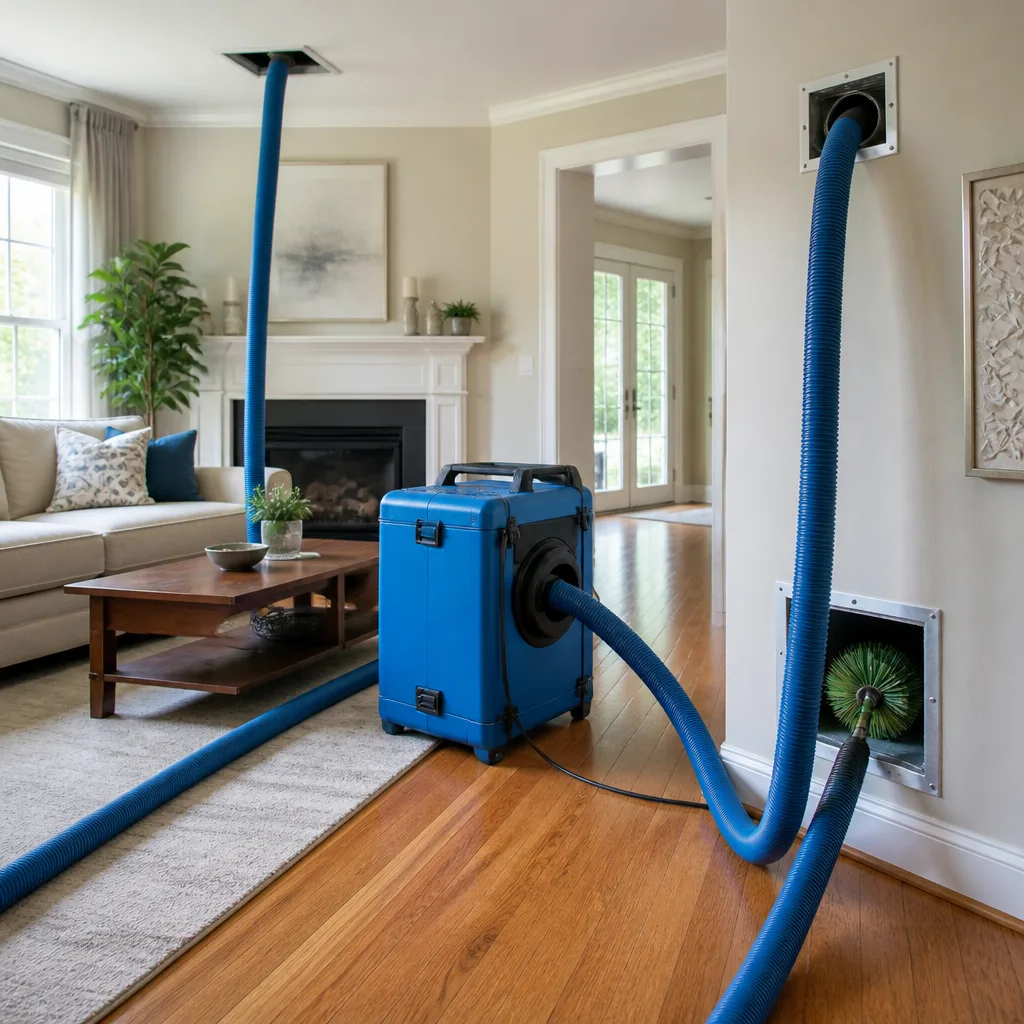 Whole-home duct cleaning
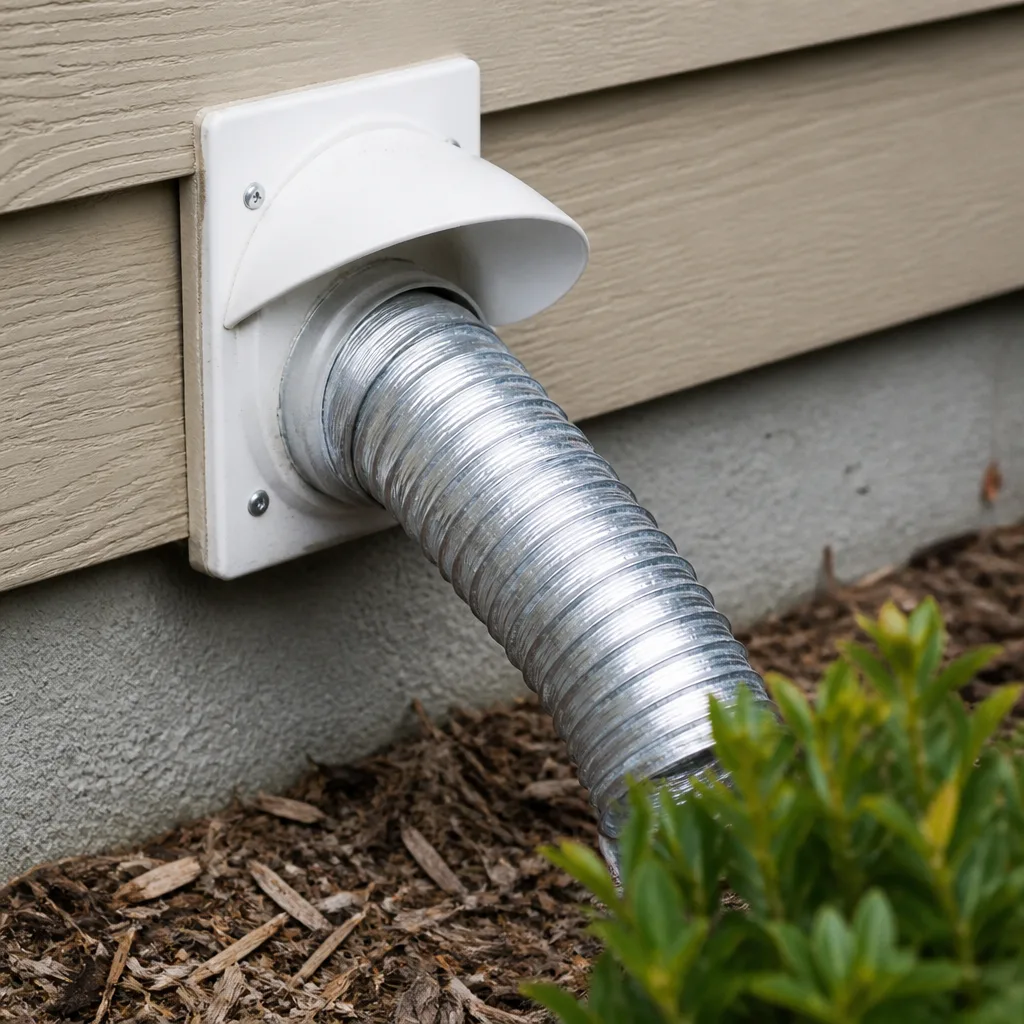 Dryer vent cleaning
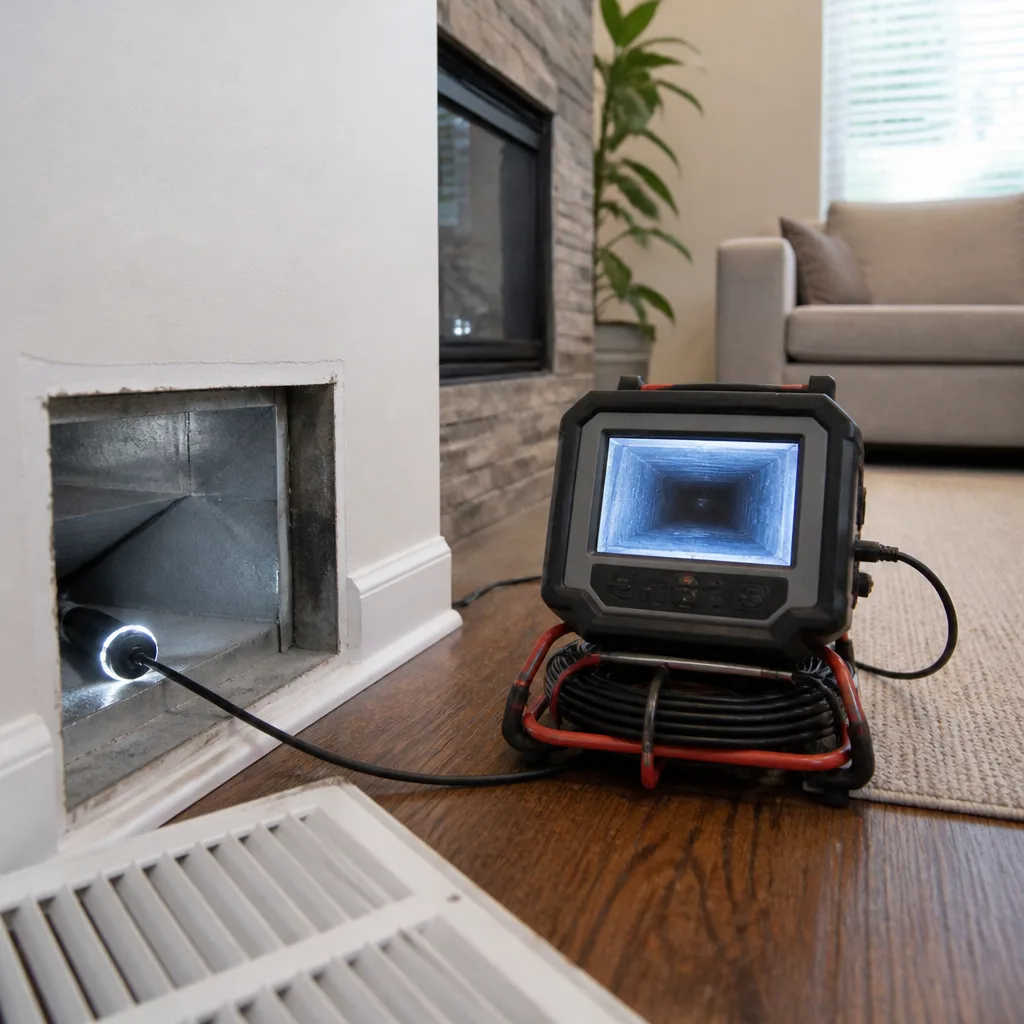 Camera inspection
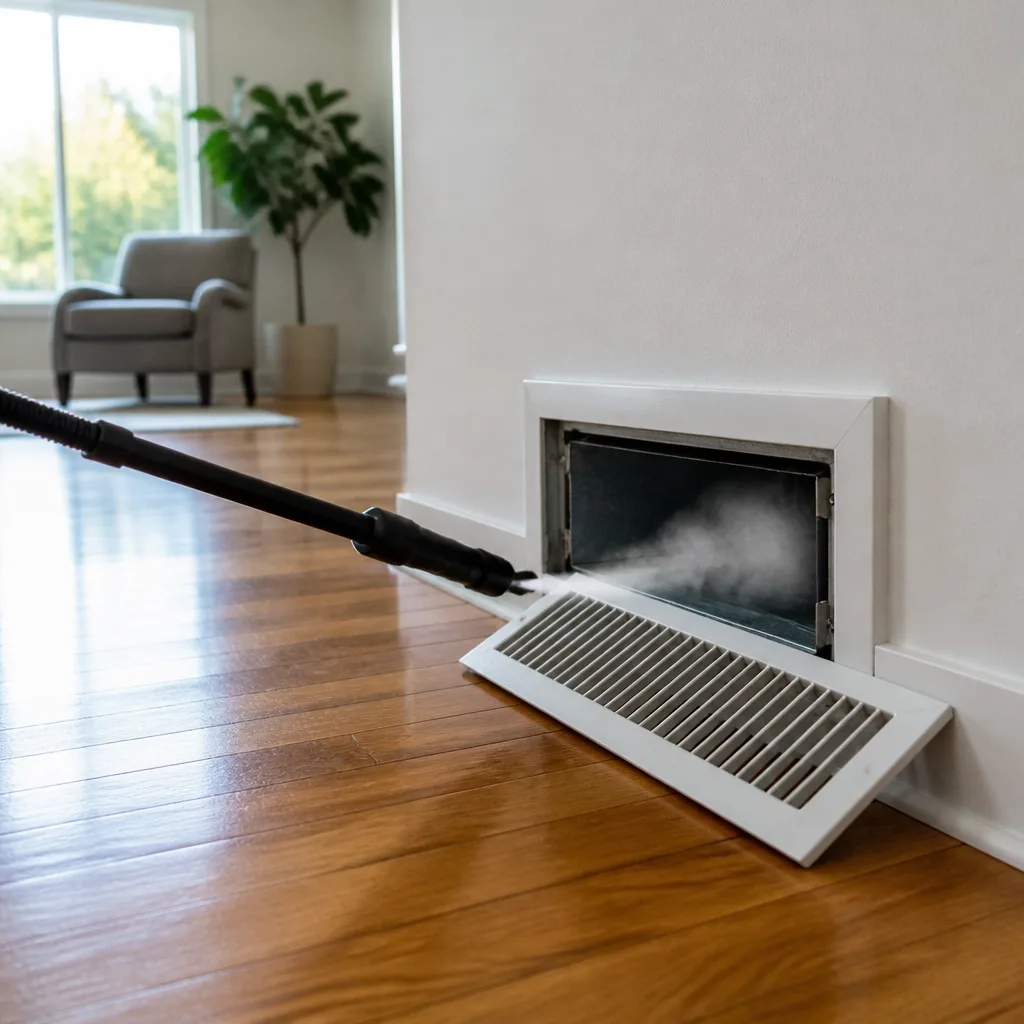 Sanitizing & deodorizing
Whole-system duct and dryer vent check with before-and-after photos - you see exactly what came out of your vents
That "$99 whole-house special" is a bait ad - the real number appears once they are in your hallway, or the "clean" is a shop-vac at the register. We photograph the inside of your ducts before and after instead.
Air Duct Cleaning Maintenance Checklist for South Fulton Homeowners
Changing your filter every 90 days while a flex duct hangs loose in the crawlspace is like mopping the floor with a leaking pipe overhead. Most duct maintenance advice treats the system as a filter you swap and forget. We treat it as what it actually is: an airtight mechanical assembly with joints, seams, and connections that fail quietly. This checklist is built around evidence you can see and smell, not calendar intervals a salesperson picks for you. You’ll learn what to check monthly, annually, and after a renovation, how to read your filter as a diagnostic tool, and which findings in a South Fulton home call for a professional look.
Quick Answer
A duct maintenance checklist for South Fulton homeowners should focus on monitoring, not scheduling: check your filter monthly for loading and dust color, inspect accessible duct connections once a year for gaps or disconnected flex, and call a professional when you find visible separation, musty smells, pest evidence, or a filter that loads in weeks rather than months. Cleaning is warranted when evidence points to buildup inside the system, not because a certain number of months have passed.
Styles & brands we work with
- Whole-home duct cleaning
- Dryer vent cleaning
- Camera inspection
- Sanitizing & deodorizing
Table of Contents
- Why a Checklist Beats a Cleaning Schedule
- The Monthly Checklist
- The Annual Checklist
- Post-Event Checks: Renovation, Water, Pests
- Your Filter as a Diagnostic Tool
- Inspecting Duct Connections Yourself
- South Fulton Conditions That Affect Your Ducts
- When a Finding Means Inspect, Clean, or Repair
Why a Checklist Beats a Cleaning Schedule
A calendar tells you nothing about the condition of your ductwork. Two houses on the same street can have completely different duct health depending on construction era, crawlspace moisture, and how well the original install was sealed. When a company sells you cleaning on a fixed interval, they’re guessing. When you check your own system for evidence, you’re not.
Here’s the difference in practice. A schedule says “clean every two to three years.” A monitoring protocol says: your filter was clean four weeks ago and it’s already gray and matted, your return grille pulls paper toward it strongly in one room and weakly in another, and there’s a faint musty smell when the fan kicks on. Those observations point to a specific problem (restriction, leak, or moisture) and to a specific fix. The calendar points to nothing.
We’ve inspected a lot of South Fulton homes where the ductwork was in fine shape and the homeowner had been told it needed a full cleaning. We’ve also seen homes where the ducts were genuinely loaded with debris and nobody had mentioned it. The difference between those two situations isn’t time. It’s evidence. That’s what this checklist collects.
One more point before the checklists: ductwork is a system, and problems compound. A small leak at a flex joint pulls crawlspace air into the supply stream. That air carries moisture and dust. The moisture feeds biological growth on the duct interior. The growth produces odor. The odor complaint leads to a cleaning call, but cleaning doesn’t fix the leak. That’s why we treat cleaning and air duct cleaning findings as a diagnostic loop: clean what’s dirty, and repair what’s letting the dirt in. The checklists below help you catch the leak before the growth starts.
The Monthly Checklist
Most of these take under ten minutes total. Do them on the same day each month so you build a comparison baseline.
- Pull the filter and hold it up to a light. Can you see light through it? If the answer changes from month to month, something in the system is changing.
- Note the dust color. Light gray is normal household dust. Dark gray or black suggests soot or candle byproducts. Reddish-brown suggests rust from a component. Greenish or white suggests biological growth.
- Check the filter frame for bypass gaps. If dust collects on the edges of the filter frame or around the slot, air is going around the filter rather than through it.
- Walk the house and listen. With the fan running, stand near each supply and return register. You’re listening for whistling (restriction), rattling (loose connection), or a dull roar (an oversized leak nearby).
- Test airflow at each register with a tissue. Hold a tissue near each supply grille. Strong steady movement is normal. Weak or fluttering movement in one room only suggests a branch duct problem.
- Sniff the return. Stand near the main return grille with the fan on. Musty, earthy, or sweet smells are worth writing down.
- Look at the register faces. Streaks of dust radiating from a supply grille often mean debris is being pushed out of the duct.
Write it down. A one-page log with date, filter color, and any notes takes a minute and gives you something a technician can actually work with. “It’s been smelling weird for a while” is hard to diagnose. “The musty smell started in the same month as the filter loading rate doubled” is a diagnostic clue.
The Annual Checklist
Once a year, ideally in spring before cooling season, do a deeper pass. This is where you look at the parts of the system you can safely access without opening anything up or getting into a tight space.
- Inspect the air handler closet or platform. Look for dust streaks around the filter slot, water stains on the platform, or debris accumulation below the unit. All three point to problems upstream or downstream of the filter.
- Look at accessible duct runs in the attic or crawlspace, from a safe standing position. You’re checking support straps, tape joints, and whether any flex run is crushed, kinked, or disconnected. If you can see it easily from the access hatch, note it. Don’t crawl into tight spaces to look closer.
- Check the condensate drain line and pan. Standing water in the pan or a murky drain line suggests a moisture issue that will eventually affect duct interiors.
- Test the return-to-supply pressure feel. With the fan running, the return grille should pull noticeably and supplies should push. If the return feels weak, the return duct or filter is restricted.
- Inspect the dryer vent exhaust flap. The outdoor flap should open fully when the dryer runs and close when it stops. Weak movement or lint around the flap means the line is loading up.
- Look in register boots. Shine a flashlight into supply boots where you can see the duct interior without removing anything. Visible debris, dust cobwebs, or debris clumps at the transition are worth a professional look.
- Check the furnace or air handler age. If the equipment has been there as long as the house (common in older South Fulton subdivisions), the ducts and connections were built to the standards of that era and may have looser seams than modern systems.
If anything in this list looks wrong and you’re unsure whether it’s normal, write it down and ask a technician during a routine visit. A good technician will tell you which items are cosmetic and which need attention.
Post-Event Checks: Renovation, Water, Pests
Events matter more than calendars. A major renovation, a water intrusion, or pest activity can change your duct system’s condition in days. After each of the following, run this short checklist.
After a renovation or remodeling project
- Replace the filter immediately, then again in two weeks. Construction dust overwhelms a filter fast, and a loaded filter during this period causes the blower to pull harder through leaks.
- Look inside the return plenum and any accessible duct sections for visible drywall dust or sawdust.
- Check supply register faces for a new coat of dust within a day or two of system restart.
- Smell the system on first restart. New paint, adhesive, or drywall dust smells should fade within a few hours; if a smell persists, something is trapped.
After water intrusion or flooding
- Check for visible moisture or staining on any flexible duct in the crawlspace or attic.
- Run the system and note any new musty smell. Moisture in ducts is a biological concern and warrants professional inspection, not just renewed filter maintenance.
- Inspect the condensate pan and lines for overflow evidence.
- If water came anywhere near a duct run or air handler, treat it as a professional inspection trigger.
After pest activity or a new pet
- Look for droppings or nesting material near ducts in the attic or crawlspace access.
- Check for new airflow smells in specific rooms; rodents often leave evidence in one branch duct.
- Inspect filter condition after the first month of a new pet. Hair loading rate is a useful sign of what’s entering the return.
These post-event checks are the highest-yield part of this whole checklist. The money and frustration in duct problems usually originate in a moment, not a month.
Your Filter as a Diagnostic Tool
Your filter is not just a filter. It’s the cheapest diagnostic tool in your house. Read it correctly and you’ll know more about your duct system than a salesman can tell you.
Here’s what we mean by reading it. Three variables matter: loading rate, dust distribution, and visible bypass.
- Loading rate: How fast the filter goes from clean to loaded. A one-inch filter in a normal South Fulton home typically loads in 30 to 90 days. If it’s loading in under three weeks, air is carrying more debris than normal (leak pulling crawlspace or attic air, renovation dust, or a return with a bypass). If it’s still visibly light after four months, the system isn’t pulling much air through it, which is its own problem.
- Dust distribution: A filter that loads evenly across its face is being used correctly. A filter that loads heavily in one corner or on one side only means air is entering from a gap or that the filter doesn’t seal properly.
- Color and texture: Light gray and uniform is normal. Dark, sticky, or furry means something different is entering the system. Don’t guess; note it and get it looked at.
- Physical condition: A filter with collapsed pleats or a bent frame has been pulled by restriction. That restriction is usually a dirty system or a duct that’s too small for the blower.
Filter rating matters less than fit. A high-MERV filter with gaps around the frame passes as much bypass dust as a cheap filter with a proper seal. Check the frame fit before you spend money on a higher rating. And don’t overshoot: a filter rated too high for your blower can increase static pressure and pull air through leaks that wouldn’t otherwise matter.
Inspecting Duct Connections Yourself
You can inspect accessible duct connections safely without tools or climbing. What you’re looking for is simple: is this joint sealed, and is this duct run supported and connected?
What a secure connection looks like
- Flex duct banded or taped tightly to the metal collar with no gap or slip at the transition.
- Foil tape or mastic covering the seam fully, with no peeling or cracks.
- The duct is supported by straps at regular intervals and hangs straight, not sagging between supports.
- The flex is extended, not compressed or kinked around corners.
What a failed connection looks like
- Visible gap between the flex end and the metal collar, or flex pulled off entirely.
- Duct tape (the gray fabric kind) peeling or dried out, especially in attic heat.
- Crushed or sharply bent flex, which restricts airflow and stresses the joint.
- Dust streaks on the outside of the duct near the joint, a sign air is escaping.
- Condensation or moisture staining on the surrounding framing, indicating a leak and a temperature issue.
If you find a gap, don’t try to fix it yourself from a ladder or crawlspace. A disconnected supply duct in an attic sends heated or cooled air into the attic, which increases both energy use and moisture. If you find it from a safe standing position, photograph it and call. Repairing duct connections is a real trade; cheap tape-and-go fixes fail in the same way the original joint did. If we find a failed joint during cleaning, we can address it as part of the same visit rather than sending you to a second contractor. That’s what “we clean it, and if it’s damaged we repair it” actually means.
South Fulton Conditions That Affect Your Ducts
Duct problems in South Fulton aren’t the same as duct problems in a dry climate, and general advice often misses the local factors.
Crawlspace humidity
A lot of South Fulton homes, particularly in older subdivisions, are built over crawlspaces. Crawlspace air is humid for much of the year, and in a leaky duct system, the return side can pull that humid air into the living space. That’s why failed flex joints in a crawlspace home matter more than the same gap might elsewhere. The smell and moisture complaints that follow are often traced back to the crawlspace. If your ducts run through a crawlspace, inspect accessible connections before the summer humidity peak.
Attic radiant heat
Attic ductwork in South Fulton takes a real beating. Summer attic temperatures push the interior of a duct much higher than the temperature of the air moving through it, which stresses flex duct and drives metal duct expansion. That cycle is what causes foil tape to peel over time. If your ducts run through the attic, look for tape failure at every joint you can see from the hatch, and pay attention to whether supplies in the hottest attic spaces feel weaker than supplies elsewhere.
HVAC age in older subdivisions
Older South Fulton neighborhoods often have original ductwork from the era the house was built. Ducts from earlier decades were built to looser sealing standards, and many have been patched or modified over the years by whoever installed the current equipment. Those patch jobs are exactly what a careful inspection catches. If your home is in a subdivision that predates modern sealing codes, a slow walk-through of accessible duct connections is worth more than an annual cleaning.
If you’re scheduling a professional inspection or cleaning in any of the surrounding communities, we’ve put together the same information for our Riverdale neighbors.
When a Finding Means Inspect, Clean, or Repair
The honest answer to “should this trigger a cleaning” is often “no, it should trigger an inspection first.” Here’s the decision tree we use, and you can use it yourself.
Findings that mean inspect, not clean
- A single new odor that appeared recently, with no other change in filter loading.
- One room with weak airflow and normal filter loading.
- Any visible gap or disconnected joint in an attic or crawlspace. That’s a repair question before cleaning.
- Recent water intrusion near a duct run.
In these cases, cleaning is often premature. You’re not losing anything by inspecting first; you’re avoiding paying for a cleaning that ignores the actual problem.
Findings that mean cleaning is reasonable
- Visible dust streaks at multiple supply registers or register boots stuffed with debris.
- Filter loading in under three weeks with no renovation and no obvious leak.
- Multiple rooms with a persistent musty smell that returns after filter change.
- Recent renovation where drywall dust visibly entered the return.
- Pest evidence in accessible duct sections.
When cleaning is warranted, the way it’s done matters more than the price. Professional systems like Rotobrush brush equipment and Nikro vacuum extraction with Abatement Technologies filtration do something a shop vac can’t: loosen debris in the whole run, collect it under containment, and show you before-and-after photos of your own ducts. That’s what contractors use in remediation work. If a bid doesn’t include that kind of equipment and that kind of documentation, the price is low for a reason.
Common Mistakes to Avoid
- Cleaning on a calendar instead of evidence. A schedule sells cleanings. Evidence tells you whether you need one. Skip the schedule and use the monthly checklist instead.
- Oversizing filter rating and ignoring fit. A high-MERV filter that doesn’t seal passes as much dust as a cheap one. Fit matters more than a number on the box.
- Ignoring visible gaps in the attic or crawlspace. A disconnected flex duct is losing you energy every hour the fan runs. Seal or repair before you clean.
- Skipping the post-renovation reset. Change the filter twice after a renovation, not once. The second change catches what the first missed.
- Swapping “duct cleaning” for “dryer vent cleaning.” They’re different systems with different hazards. Your dryer vent is a fire hazard waiting to be ignored, and it needs its own protocol, not a quick check after the duct job.
- Taking a quote without documentation. Before-and-after photos of your ducts should be part of any job. If they’re not, you have no way to verify what was done.
- Treating a new smell as a cleaning problem. A recent odor change is often a leak, a moisture issue, or a pest problem. Get it inspected before you get it cleaned.
See the difference
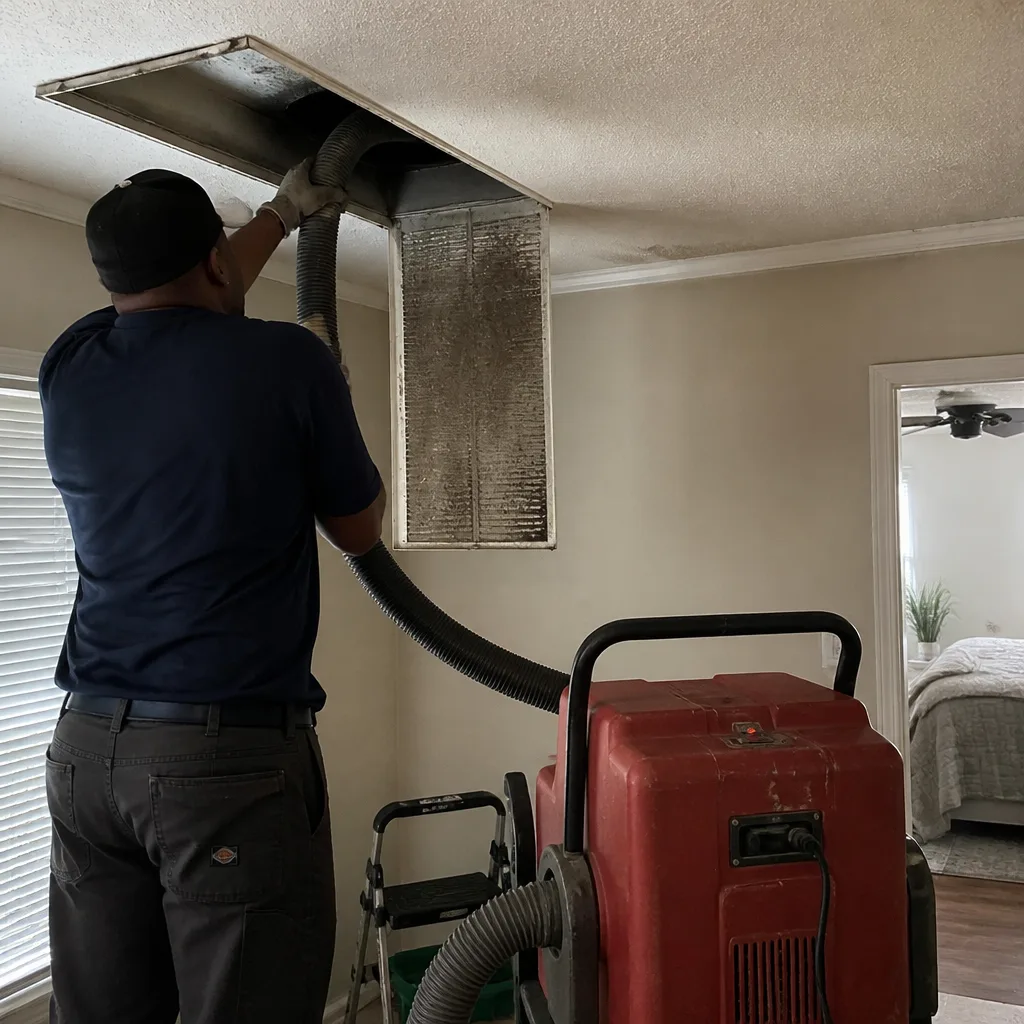 Before
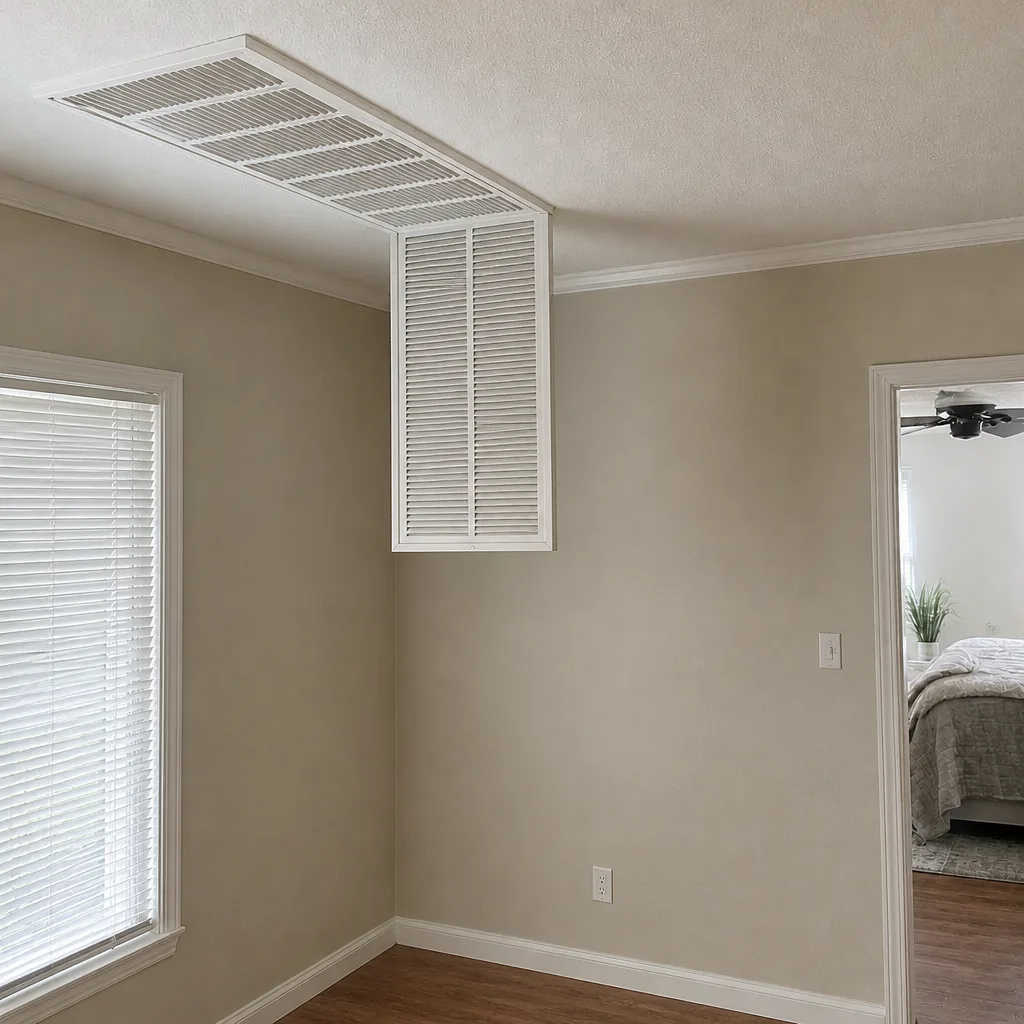 After
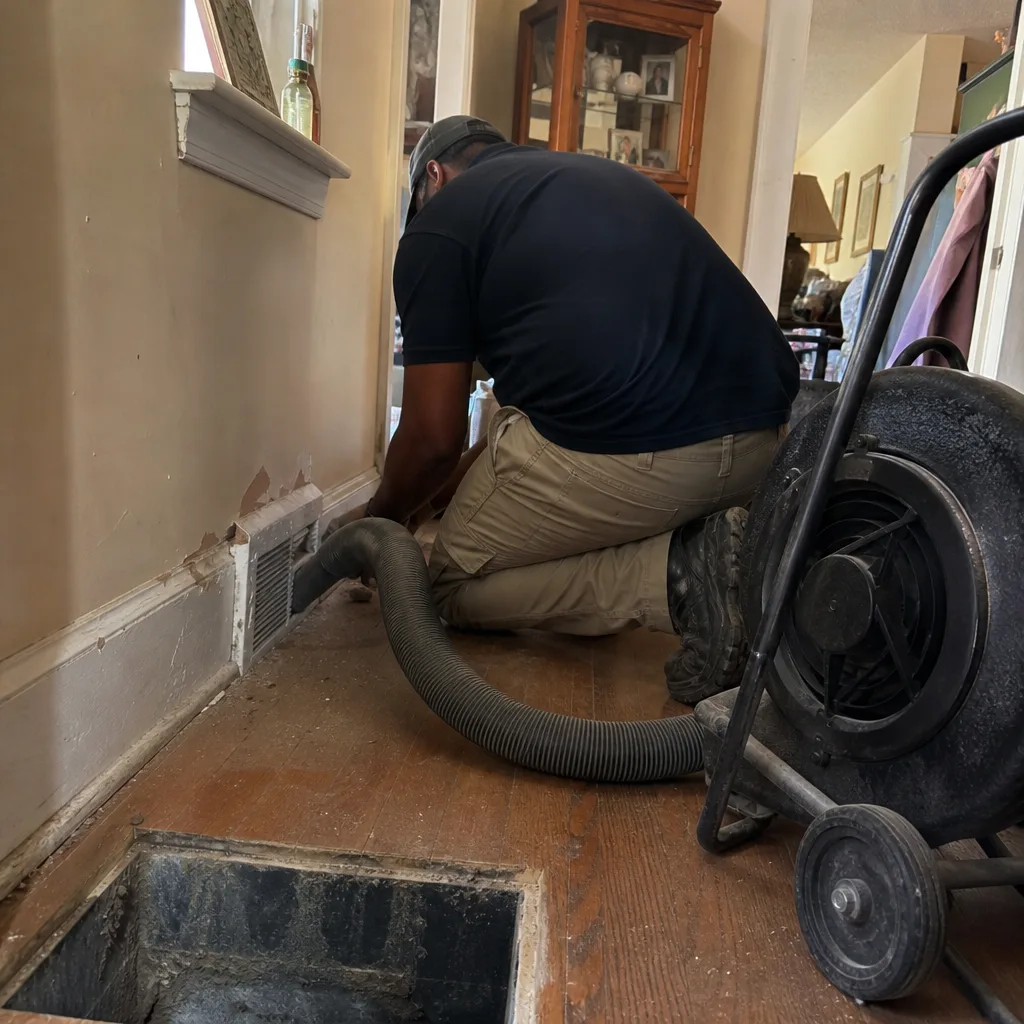 Before
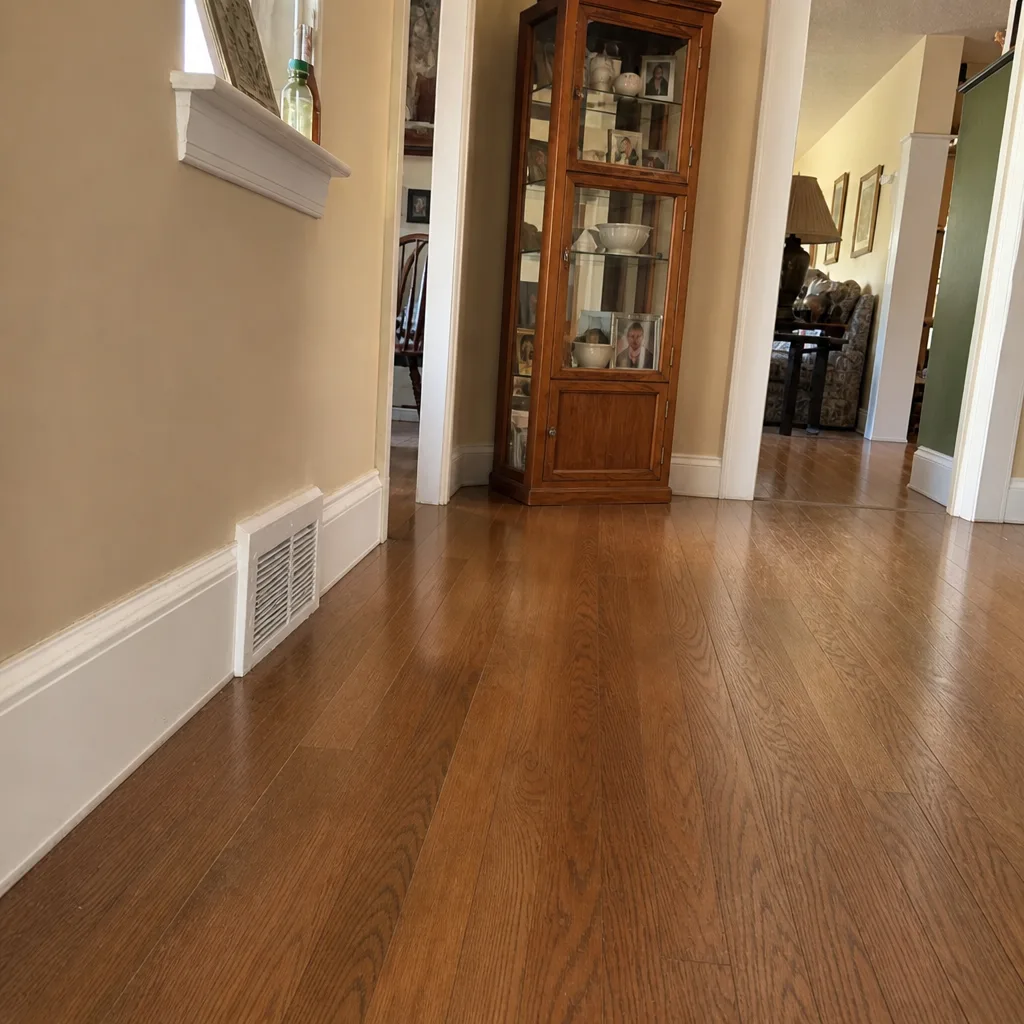 After
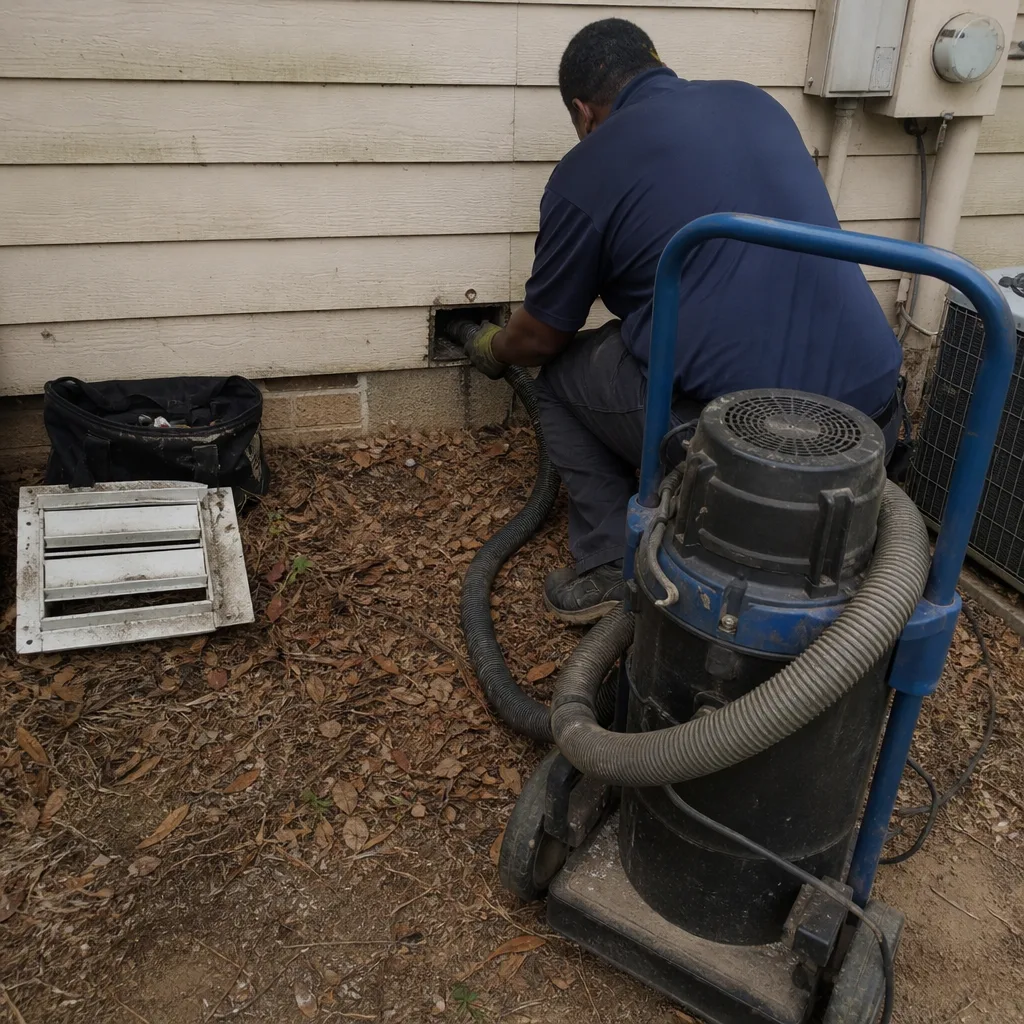 Before
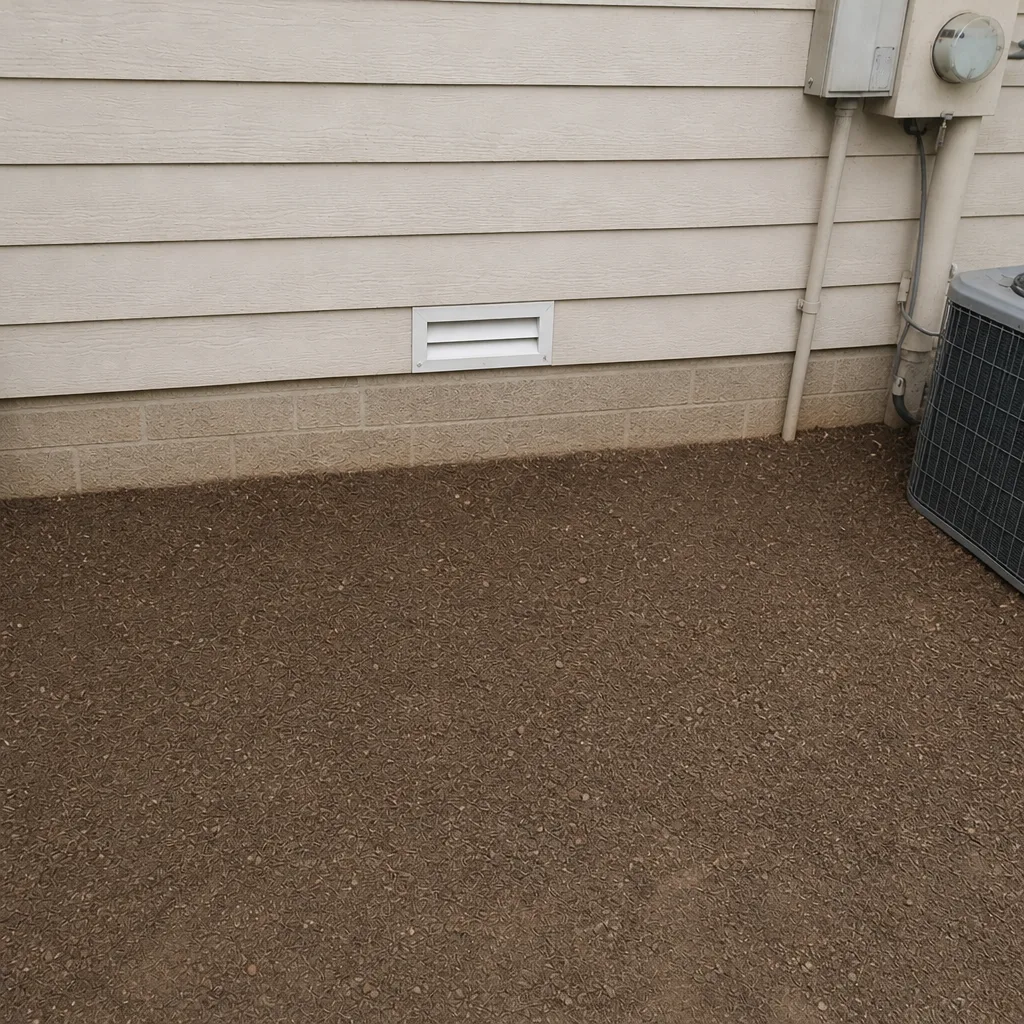 After
When to Call a Professional
Call us when a finding points to a real system question, not just a filter change. Visible duct separation, an odor that returns after filter replacement, filter loading that has clearly accelerated, pest evidence in accessible ducts, any moisture near a duct run, or a dryer vent that isn’t exhausting properly at the outdoor flap. Those are the findings worth a call. Our technicians have up to 13 years of experience and use professional-grade equipment, not improvised tools, so an evaluation tells you something useful instead of upselling a job you don’t need. Tidewater Air Duct Cleaning offers free estimates in South Fulton. Call (833) 991-9213. We answer 24/7. Fast dispatch from 7am to 7pm, Sunday through Friday.
If you’re also considering the broader service picture in the area, our team has put together a full overview of Tidewater Air Duct Cleaning services for reference.
Frequently Asked Questions
There’s no fixed calendar interval that’s right for every home. Cleaning is warranted when evidence points to buildup inside the system: visible debris at registers, accelerated filter loading, persistent odor that survives filter changes, or contamination from a renovation or pest activity. A monitoring checklist like the one above will tell you more than a number of years ever will.
Pricing is per system, not per vent, and it’s set by a written estimate after an inspection of your actual ductwork. A company that quotes per vent is usually selling a rushed job. We quote by the system so the price reflects what your home needs. Call (833) 991-9213 for a free estimate.
Cheap quotes typically skip the equipment that makes cleaning real: brush systems, high-volume vacuum extraction, and HEPA filtration with containment. When you’re quoted per vent with no documented before-and-after photos, the work usually doesn’t do what a proper job does. Ask what equipment is used and whether you get photos of your own ducts.
Ask for before-and-after photos of your own ducts. That’s the simplest verification. You should also be able to see the equipment, and the work should be done with containment so debris doesn’t end up back in your living space. Call (833) 991-9213 for a free estimate and photos are part of the conversation.
A filter change is one item in a larger checklist. The checklist catches duct leaks, register debris, and post-event contamination that a filter can’t. If you only do one thing, do the monthly filter inspection and note the loading rate. If you do two, add a walk-through of accessible duct connections once a year.
Often, yes. A dryer vent line loaded with lint restricts airflow, and the same lint load is a fire hazard. It’s a separate system from your ductwork and needs its own cleaning, not a quick check tacked onto another job. Call (833) 991-9213 for a free estimate.
Cleaning won’t fix a leak, and cleaning a leaky system is a partial job. If we find damaged or leaking ductwork during a cleaning, we can address it as part of the same visit. That’s why we treat cleaning and repair as a single call rather than two appointments with two contractors.
The Bottom Line
A duct maintenance checklist for South Fulton homes isn’t a cleaning schedule. It’s a monitoring protocol that tells you when cleaning is actually warranted and when it’s being sold to you early. Read your filter, watch the color, loading rate, and fit. Walk the accessible duct connections once a year. Run the post-event checks after any renovation, water issue, or pest activity. Crawlspace humidity and attic heat are the local factors that make failed joints matter more here than in a milder climate. When you find something that points to real system trouble, get it looked at before you get it cleaned. We clean it, and if it’s damaged we repair it. Call (833) 991-9213 for a free estimate.
Written by the team at Tidewater Air Duct Cleaning.